Email & Notifications
Email Configuration
Configure outbound email in Settings → General Settings → Email tab.
Primentra uses SMTP to send email notifications. All email features (welcome emails, approval notifications, password resets, and license expiry alerts) require a valid SMTP configuration.
Access: Settings → General Settings → Email tab
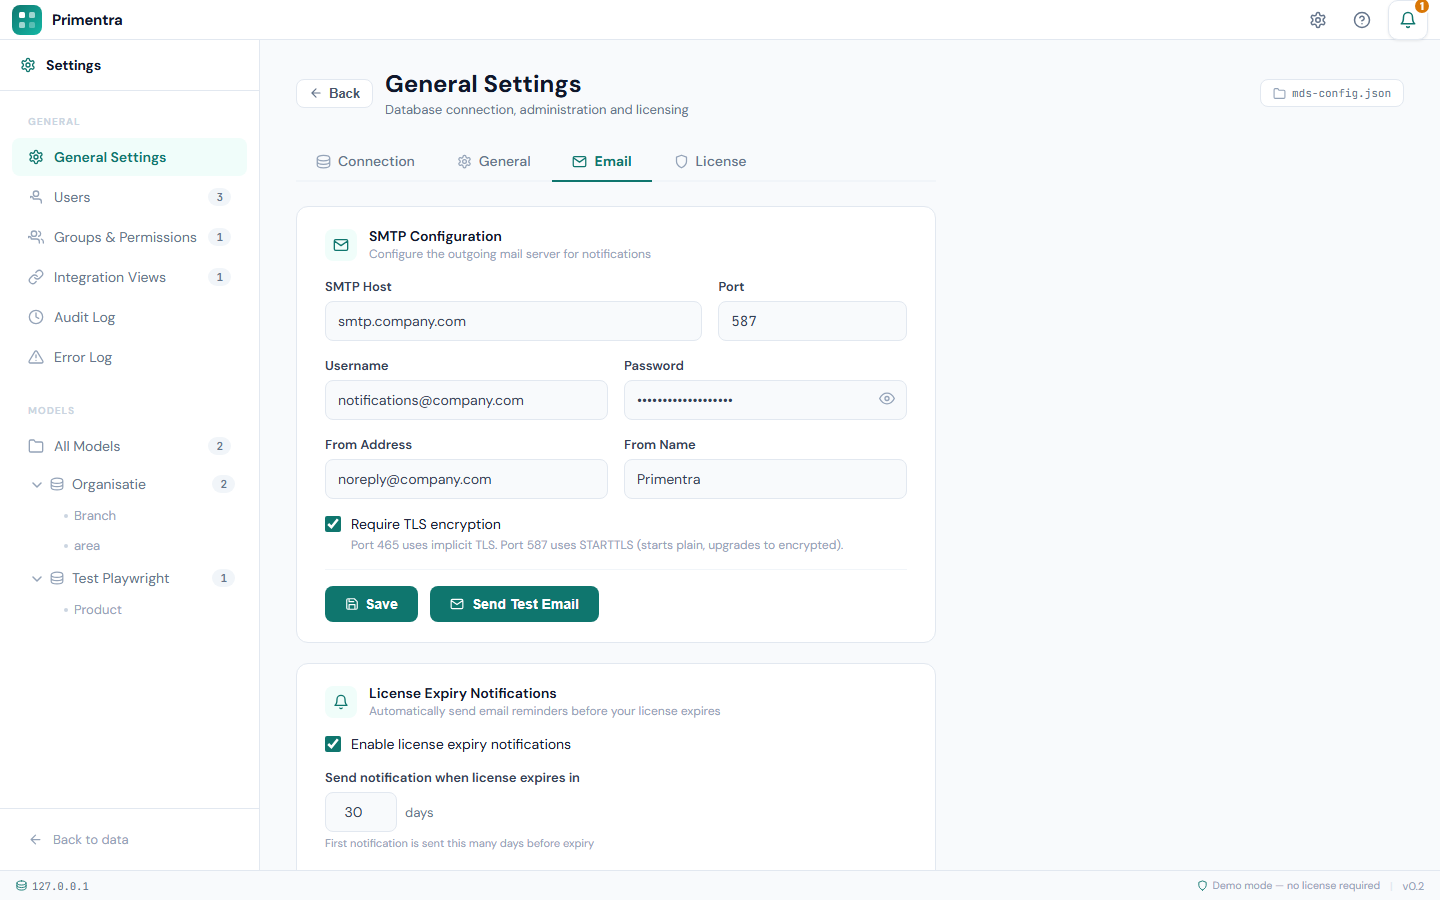
SMTP settings:
| Field | Description |
|---|---|
| Host | SMTP server hostname (e.g., smtp.office365.com) |
| Port | SMTP port (typically 587 for TLS, 465 for SSL, 25 for unencrypted) |
| Secure (TLS) | Enable TLS encryption (recommended for port 587 and 465) |
| Username | SMTP account username (often the sender email address) |
| Password | SMTP account password or app password |
| From address | The email address shown in the "From" field of outgoing emails |
| From name | Display name shown alongside the From address (e.g., "Primentra Notifications") |
Test Email button: After filling in the SMTP settings, click Test Email to send a test message to the administrator email address configured under the Administrator tab. The button shows live status (sending, success, or error with the SMTP error message).
Saving settings: Click Save to persist the SMTP configuration. Settings are stored in the application's configuration file on the server.
License Expiry Notifications
Configure automated email alerts to notify administrators before a license expires.
Access: Settings → General Settings → License tab → Expiry Notifications section
Settings:
- Enable notifications — Toggle to activate/deactivate license expiry email alerts
- Days before expiry — Select one or more thresholds as pill toggles (e.g., 90, 60, 30, 14, 7, 3, 1 days). An email is sent when the license reaches each selected threshold
- Recipients — One or more email addresses that receive the alerts (comma-separated or added individually)
- Frequency — How often the notification is repeated once a threshold is reached:
- Once — Send the alert only once when the threshold is first crossed
- Daily — Resend the alert every day once the threshold is crossed
- Weekly — Resend the alert once per week once the threshold is crossed
How it works: The system checks the license expiry date daily. When the remaining days reach a configured threshold, it sends an email to all configured recipients with the license details and expiry date.
Notification Bell
The notification bell in the top-right corner shows alerts that need your attention. The bell aggregates notifications from multiple sources and uses color-coded badges to indicate priority.
Badge colors (highest priority wins):
| Color | Meaning |
|---|---|
| 🔴 Red | A submission was rejected or sent back, or an integration view is broken |
| 🟠 Orange | Pending approvals waiting for your review, or integration view drift warnings |
| 🟢 Green | One or more of your submissions was approved |
The badge count shows the total number of unread items across all categories. Click the bell to open the dropdown, which groups items by category. Clicking any entry navigates to the relevant screen and clears that item.
Notification Types
Approval notifications:
- Pending approvals (orange) — Submissions waiting for your review as an approver
- Approved submissions (green) — Your submissions that were approved
- Rejected / returned submissions (red) — Your submissions that were rejected or sent back
Integration view drift:
- View broken (red) — Columns removed from an entity that a view depends on
- View outdated (orange) — New columns added to an entity
Each integration notification shows the view name and a summary of the issue. Click Go to view to navigate directly to the affected view's detail page.